How to add fonts to Photoshop CC.
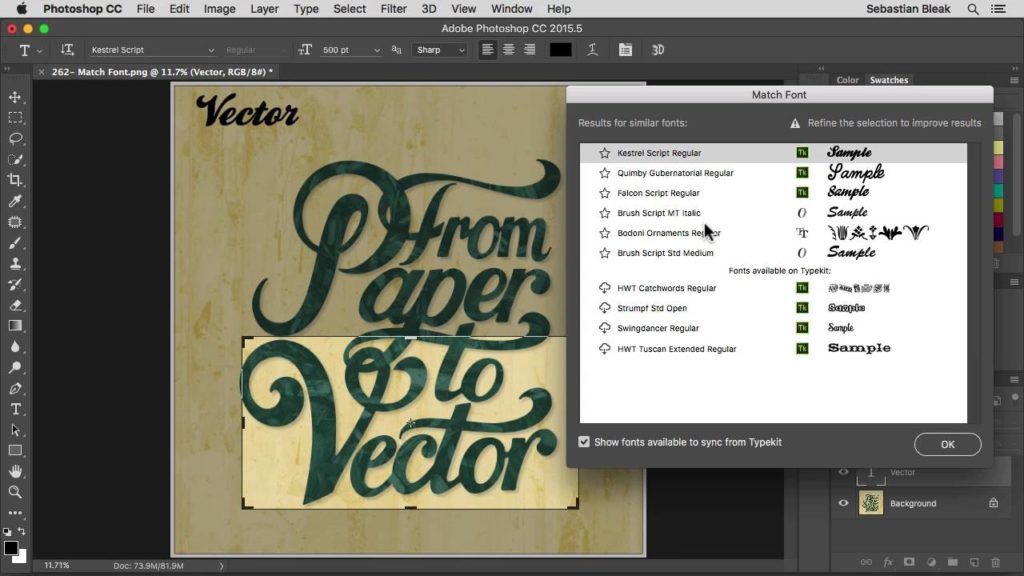
Can’t find the font you want on Photoshop? Lucky for you, downloading new fonts is as simple as it is free (hint: it’s both simple AND it’s free). Did we mention it’s fast too? All that you’ll need is internet access and a copy of Photoshop installed. Don’t own Photoshop yet? Grab it right here:
Guide to adding fonts to Photoshop
Finding the font
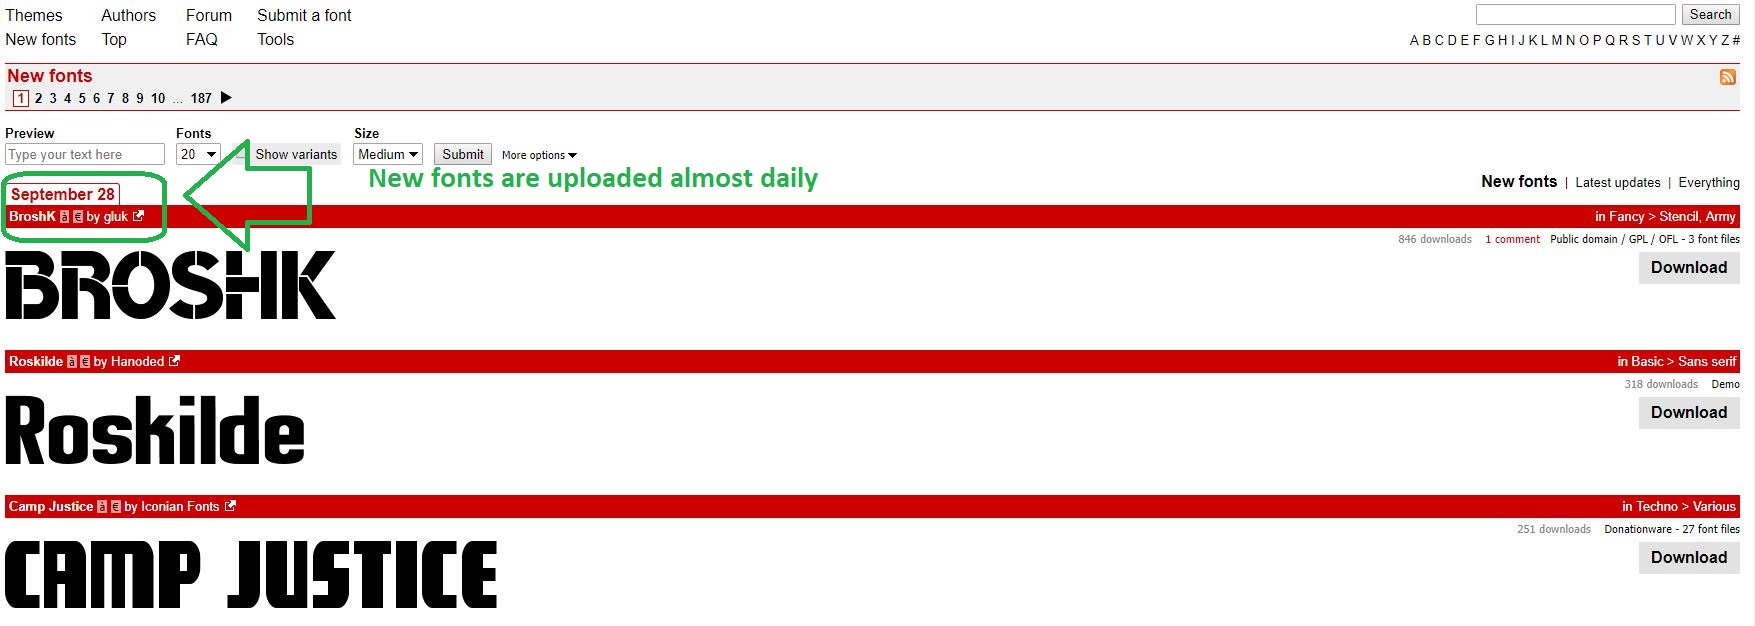
If you’re a Photoshop user and you haven’t heard of dafont.com it’s about to be your new favorite site. This site has thousands of free fonts that are available for you at the click of a button. Better still it’s constantly being updated, so it’s worth keeping tabs on what’s put here (or better yet, uploading some yourself!) even if you think you have all the fonts you want.
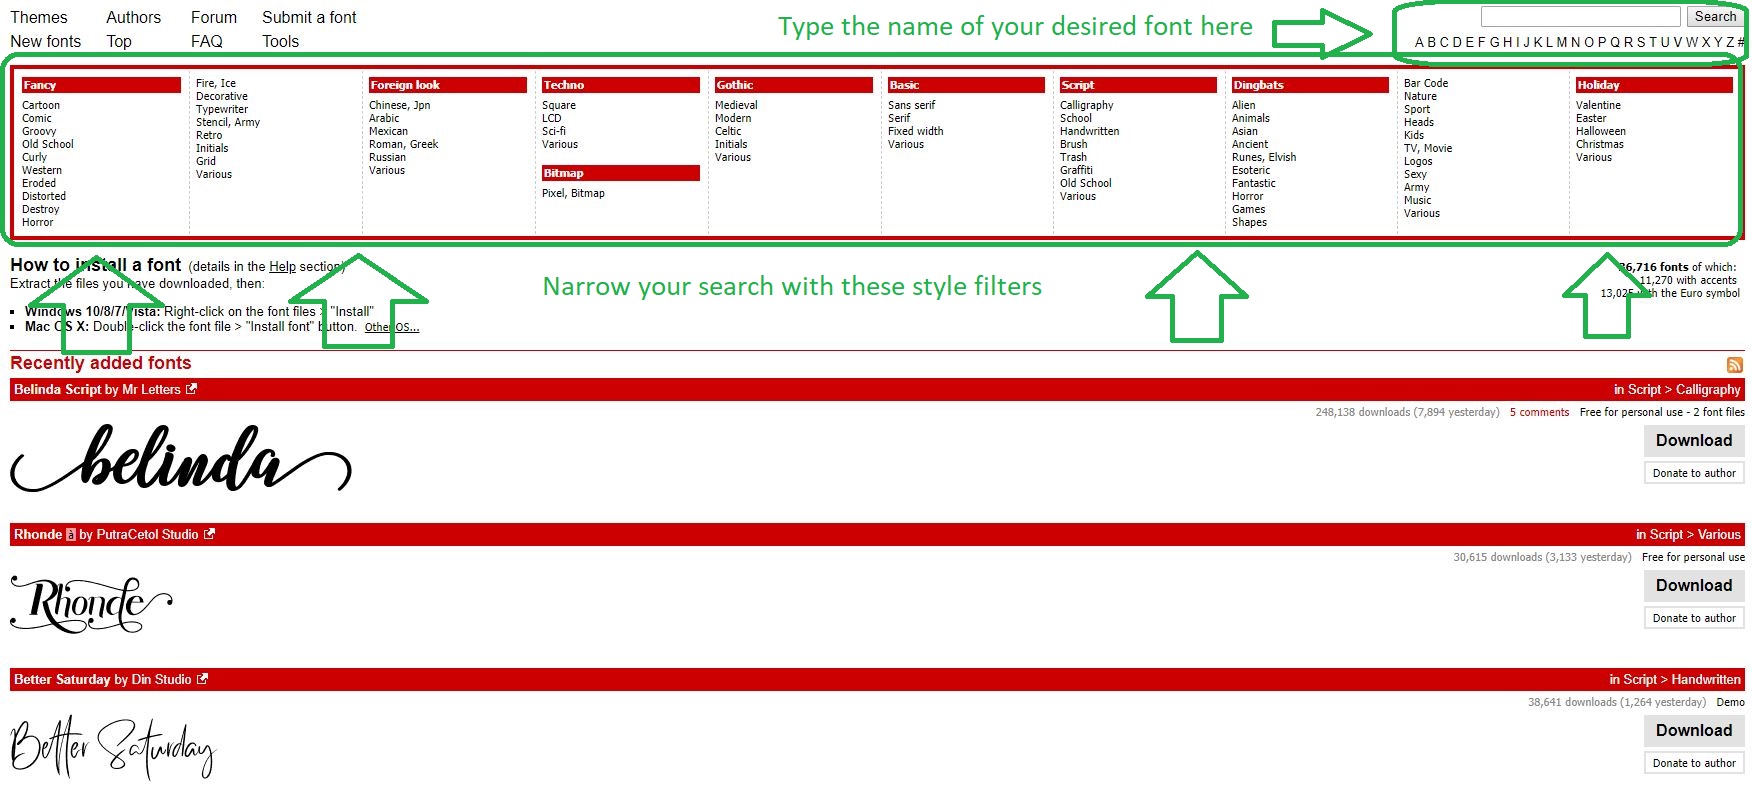
When browsing Dafont’s website, prepare yourself for limitless window shopping. There’s no limit to browsing, so keep scrolling until you find that perfect aesthetic. If you’ve got a specific style in mind look at the filters up top and try and narrow down your approach. If you already know the name of the font you’re looking for, you can simply type it in the portal above. Dafont will take you right to it.
Once you find your font all you need to do next is click the Downloadbutton on the right. Before you do, though, remember that an artist made this font and uploaded it for free. Consider hitting the Donate to Authorbutton under Download to support their work.

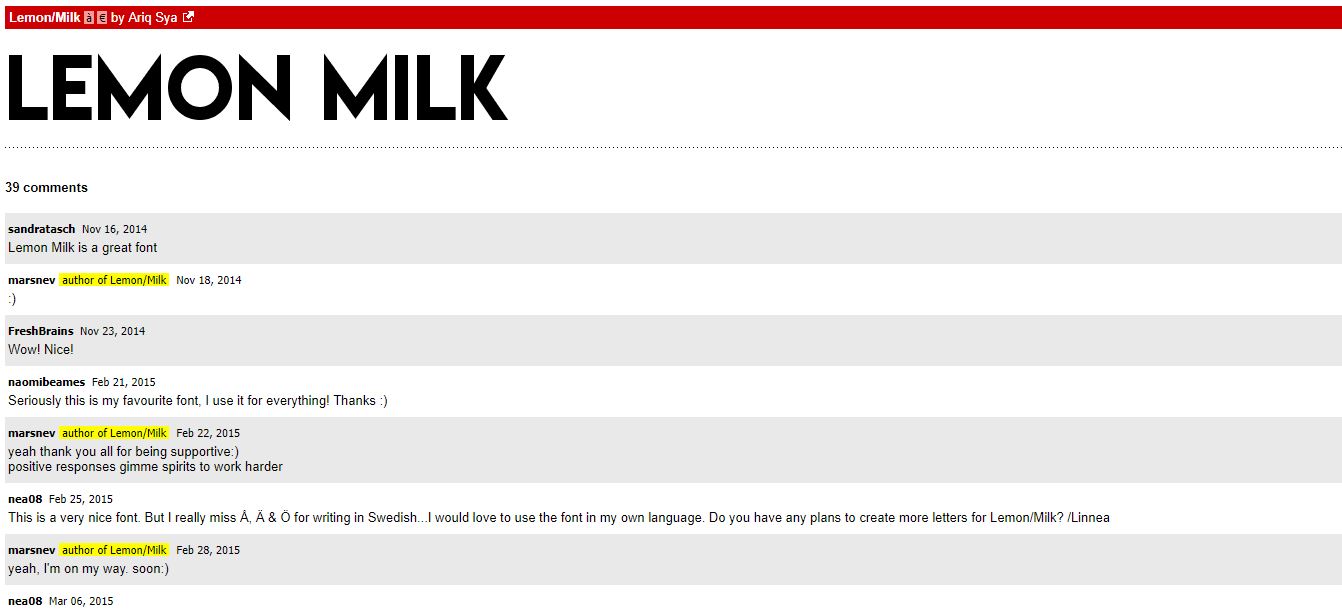
If you don’t donate to the artist, at least leave them a comment thanking them and linking them to your finished product once you’re done with your work. That way they might choose to add your project to their own portfolio! The wheel goes around. Maybe you’ll even collaborate with them in the future!
Whether you comment or donate, be sure to give credit where credit is due; thank the artist on their page and mention them in your piece (like in the credits).
Note that if you’re using these fonts for any purpose besides personal use(like going commercial), you need to contact the uploader directly to ensure that the money is given where it’s due.
Extracting the font
After you click the Download button (the download process is very quick!) the compressed file will immediately show up right in your Downloads folder. If it doesn’t automatically do so, you’ll encounter a window that looks like this:
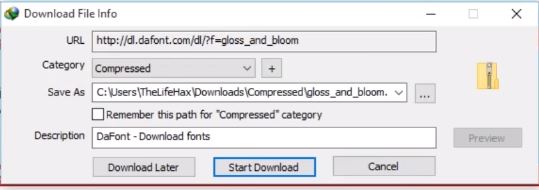
Here you can set where you want the file to end up, and just press Start Download, then Open on the next screen.
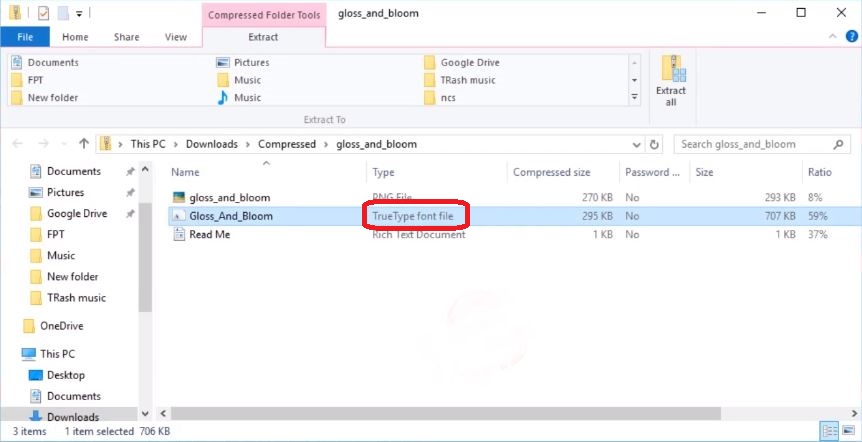
The file you receive will be zipped, so you can either choose to unzip it and extract the files (recommended) or, since they’re so small, you can also just double-click the file and open the TrueType specifically. If you don’t have a program to unzip compressed files, we recommend WinRAR:
Installing the font
After you’ve extracted your file, double-click on the file labeled TrueType.
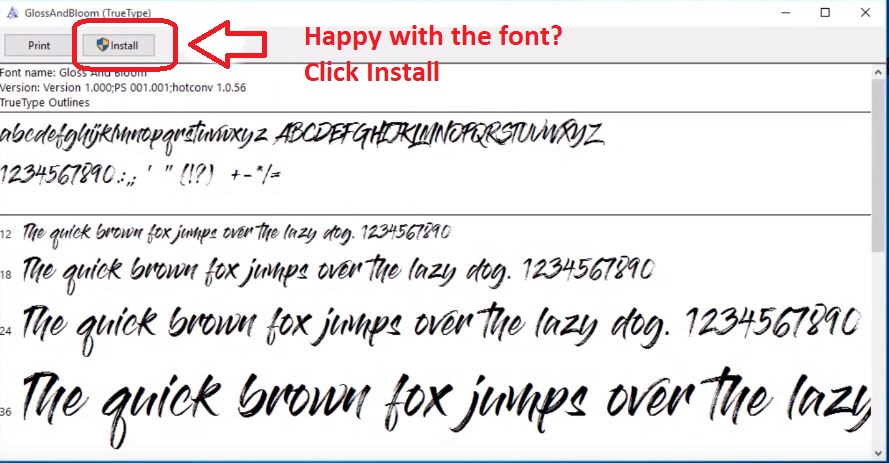
It will open a window with samples of the font for all sizes and letters. Check to see if you grabbed the correct font, and if you did go ahead and click Install.
Tab back over to Photoshop and type the name of your new font in the font drop-down up top. It should show up right there.
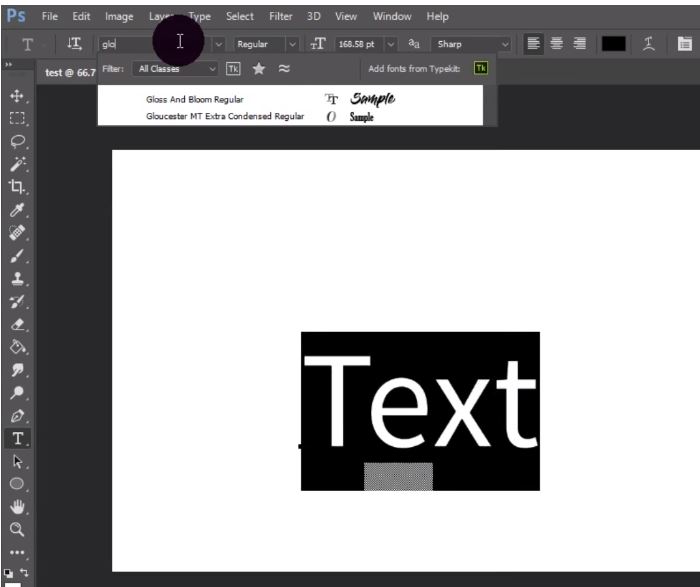
Click it and there you go! If for whatever reason your font still isn’t showing up after clicking Install, try turning off Photoshop and turning it back on. It will be there now.
And that’s it.


Comments
Post a Comment